
Wilderness Plantation Kitchen Remodel
- Feb 3, 2023
- 3 min read
Hello and happy Friday! For those of you new around here, welcome to my Friday morning blogpost where I feature current projects I'm working on. I like to keep it real because we all know how much work it takes to create those beautiful kitchens you see on social :)
Today I'm sharing a project that's well under construction right down the street. Warning this is a long one! :) My neighbor wasn't happy with her cabinet quality, needed more storage, wanted new countertops and more countertop space.
Like many renovation projects, the flooring situation kind of dictated the scope of work. The homeowner wanted to keep her existing beautiful heart pine floors, however after digging around we discovered that when the contractor installed the cabinets, he did not run hardwood underneath (see pic below). New flooring could be installed but it could take years to match as pine changes color over time and so the homeowner decided to keep her existing layout. Below is the new cabinet plan.


We went with a stock cabinet line due to the super quick lead-time to receive cabinets but then had to hire a custom cabinet maker to make certain sizes that weren't available. We also had to have the custom pieces professionally painted to match the factory cabinets. Luckily they all turned out great!
Wall 1 shows the new range location with a microwave overhead. I don't usually put a microwave over a range because I love a pretty hood and am all about a focal point... but we were so tight on wall space and the homeowner really wanted it there. The cabinets that flank the microwave are 9" wide spice pull outs and the 12" cabinets on either side of the range are tray pull outs.

Wall 2 is where the former wall ovens took up valuable countertop space. Now we have deep pots and pans drawers with wall cabinets above. There was a little bit of an odd space where the wall angled so I designed a little bookcase to store cookbooks, family photos, etc.

Wall 3 will look so much better because we removed the old school soffit that visually chopped the pendant lights in half when standing at the sink. The kitchen is so much more bright and open now and the new rattan pendant lights will look fabulous! A porcelain apron front sink will replace an old school sink that took was long and divided into 3 sections. A pull out double trash can sits just to the left of the sink.

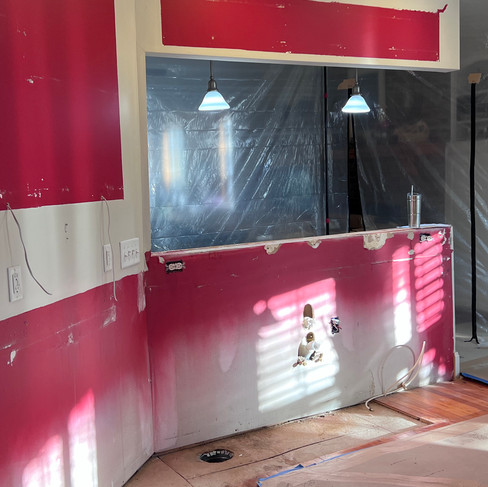
Wall 5 shows the new island which is full of storage and work space especially since it's losing the cooktop that used to sit inside. The homeowner loves color and requested to have the island painted SW6861 radish red! We are also adding bamboo posts on each corner which houses electrical outlets for charging electronics or powering small appliances.
Wall 5 also shows the refrigerator nestled in cabinets for a more custom built in look. There used to be a countertop to the far left with an upper wall cabinet which didn't offer much in the way of storage. The new pantry will serve as a lower broom closet with an electrical outlet in the rear to charge the Dyson and an upper cabinet featuring rollout trays. Due to the wall depth we were able to bring out all the cabinets 27" deep for a consistent, flush finish.

Wall 7 is where a backdoor leads out to the carport and is probably the most used entrance into the home. To the left are floor to ceiling cabinets which enclose a toaster oven and coffee maker. On the right side are slim upper cabinets leaving just enough width to hang the homeowners favorite piece of artwork underneath a wall sconce.

As you can see a lot of thought of planning went into creating the best design for this kitchen. The homeowner decided to select her own materials and it's going to look great! I'll continue to share the progress of this project on social media @wildernessplantation f you want to follow me. You can find me on Facebook and Instagram @robinjohnsoninterors. Have a great weekend!


Comments